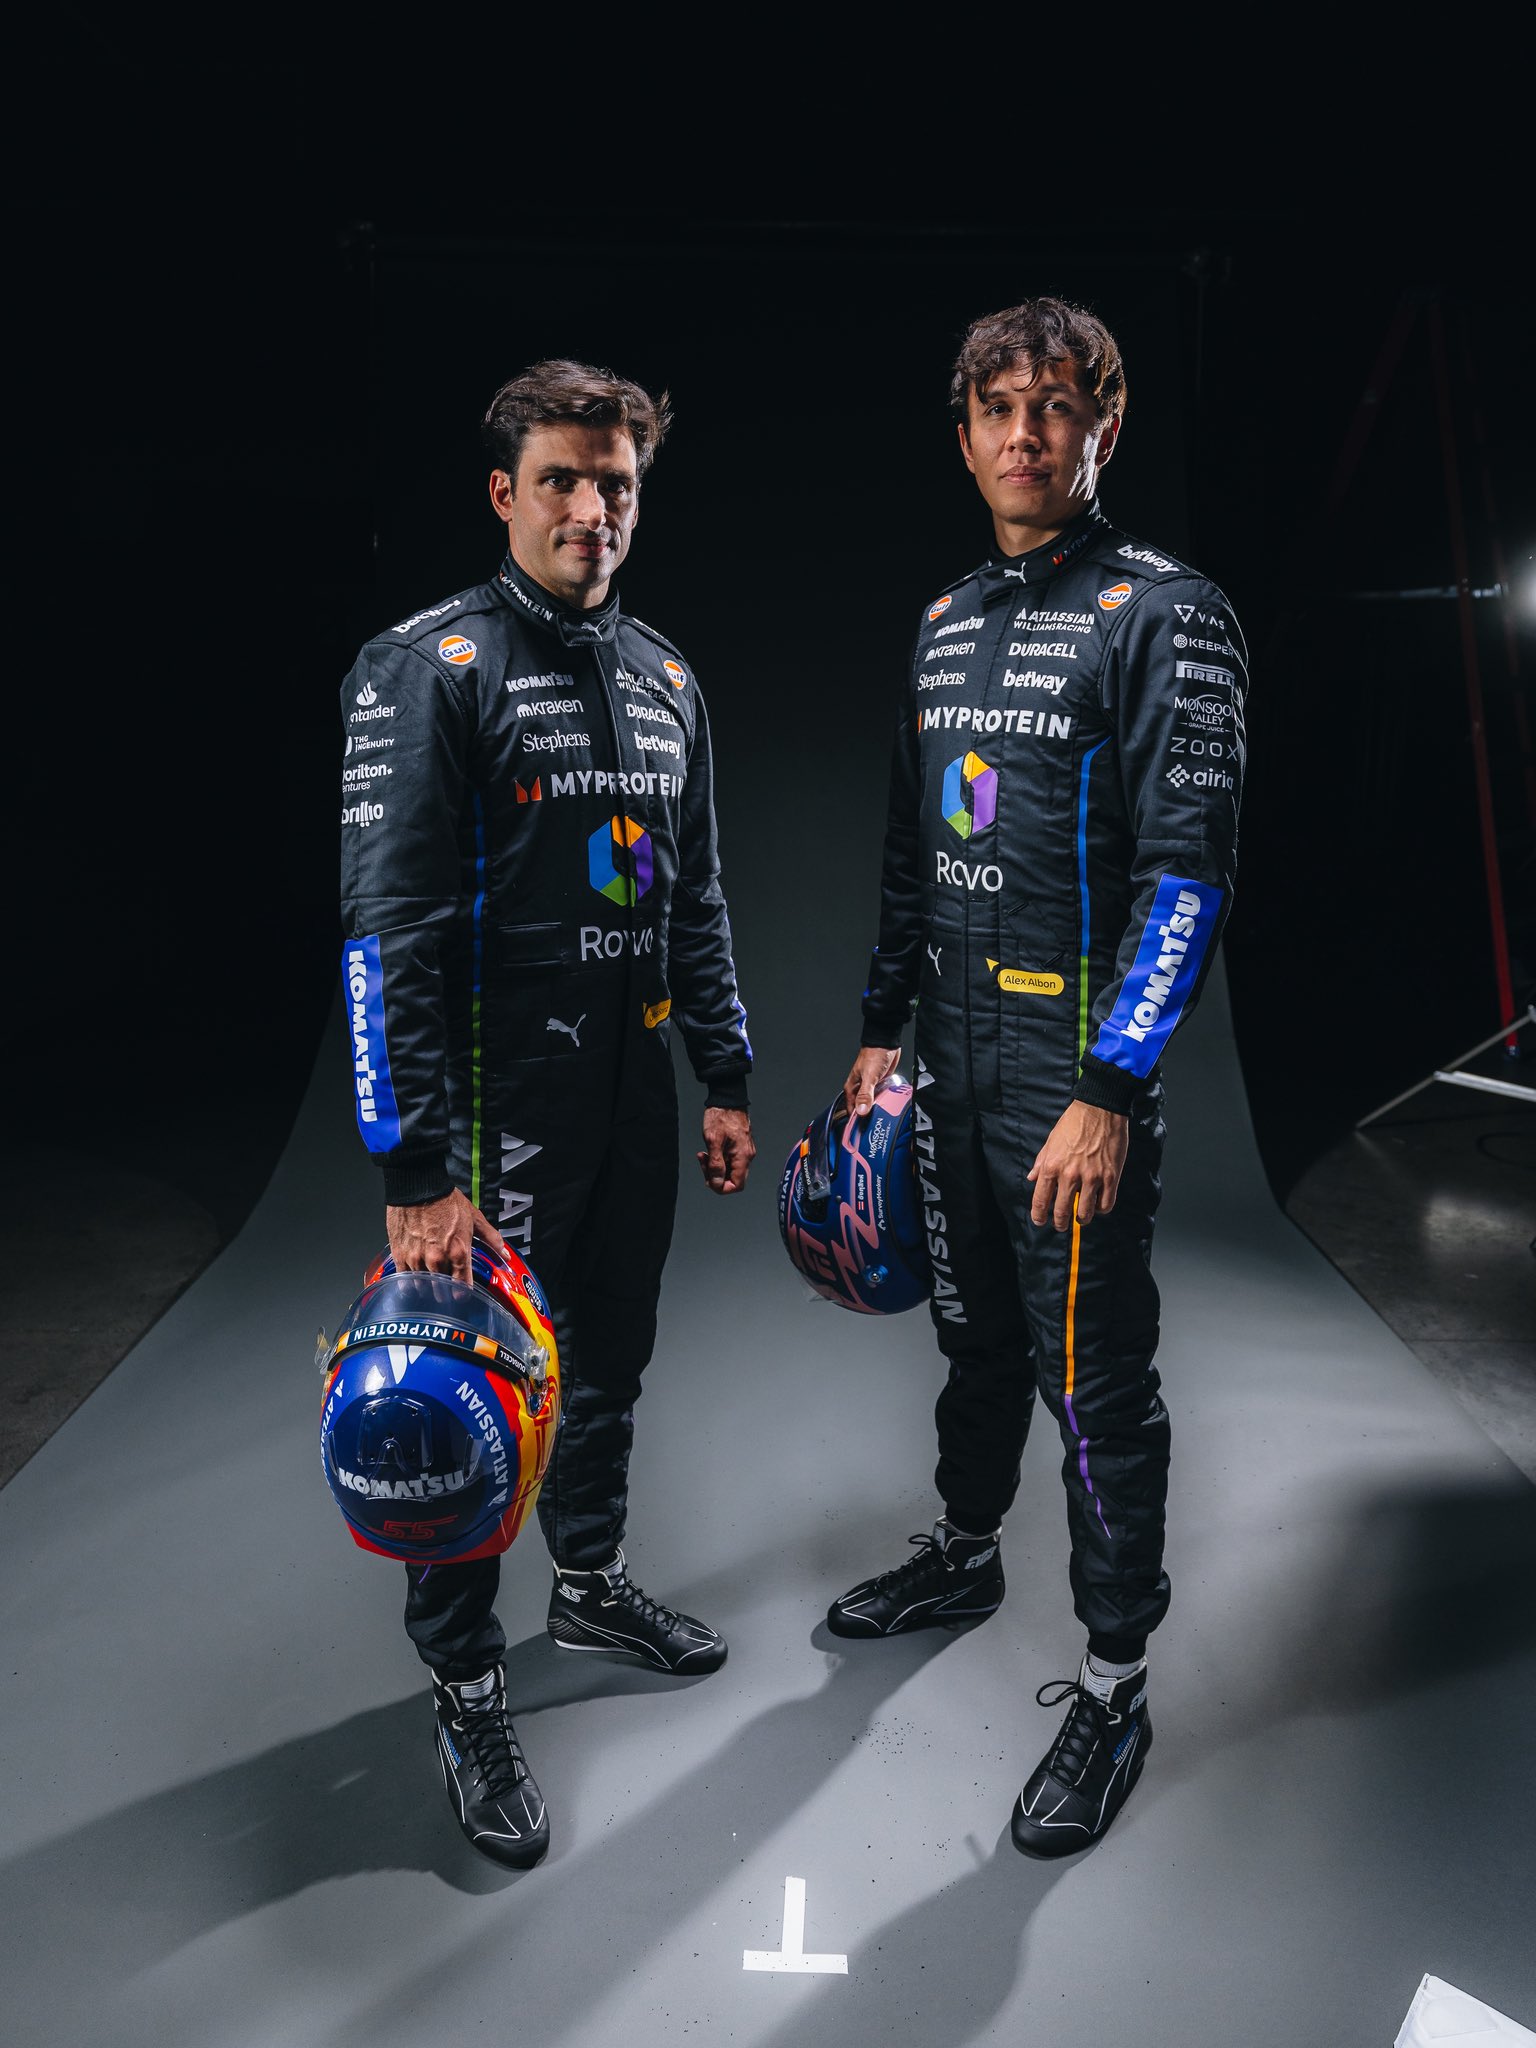
Both Williams’ Carlos Sainz and Alpine’s Franco Colapinto have escaped penalties for the F1 Monaco GP. This decision comes after the stewards talked to both drivers post-FP3.
Haas’ Ollie Bearman received a 10-place grid penalty for his overtake on Sainz in FP2.
Sainz failure to comply with the red flag in FP2
Footage showed Sainz speeding past Colapinto and overtaking him during FP2 of the Monaco GP as they went up towards Casino Square. This happened under the red flags triggered by Oscar Piastri’s crash in Friday’s second session, with the stewards subsequently noting the incident.
This meant that the Spanish driver was at breach of Appendix H. (Article 2.5.4.1 b) of the regulations which requires the drivers to ‘immediately’ reduce speed and proceed slowly back to their respective pits.
However, they decided to take no further action.
“Car 55 [Sainz] overtook Car 43 [Colapinto] at turn two. As Car 55 was going towards turn two, the session was red flagged. Car 55 was very close to Car 43 when that happened (42 metres).
“Car 55 was travelling at a significant speed, in excess of 250kph. Car 43, on the other hand, was on a slow lap on the left hand side of the track. As soon as the red flag was shown, Car 55 took immediate steps to slow down in a safe manner as required under Article 2.5.4.1 b) of Appendix H to the International Sporting Code.
“There was a significant speed delta between the two cars and the overtake was an inevitable consequence of that speed delta and the distance between the cars. In the circumstances, we took no further action.”
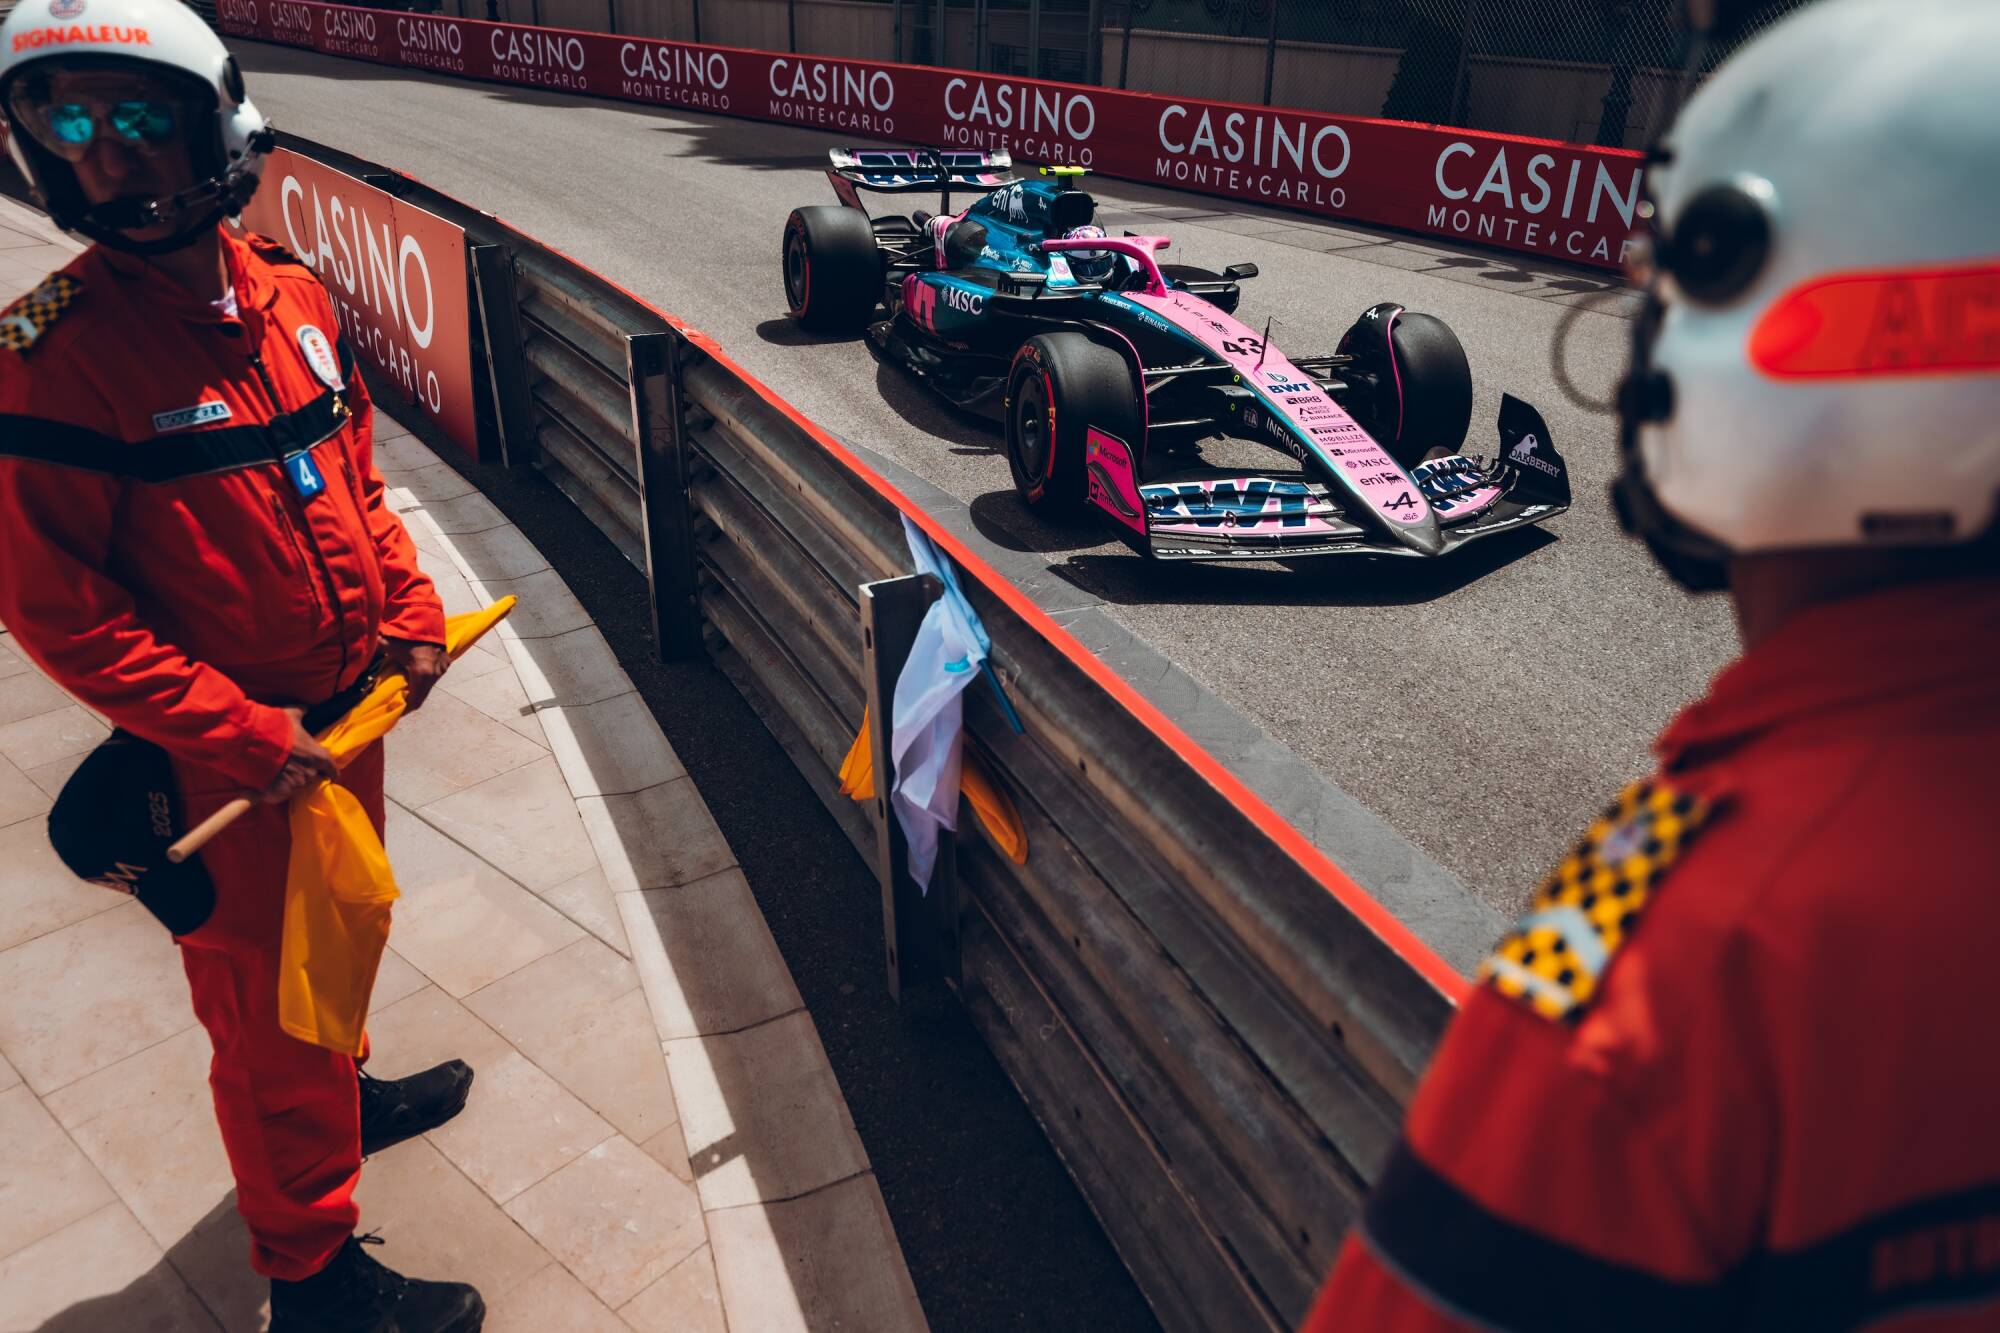
Colapinto failure to comply with the red flag in FP3
Colapinto himself also got away with a no further action decision for his own breach of red flag in FP3 of the Monaco GP. Footaged shows the Argentinian driver overtaking Aston Martin’s Lance Stroll after the red flag brought out by Ferrari’s Lewis Hamilton was called.
Colapinto was later noted for the red flag infringement under it and was investigated by the stewards but escaped a grid drop, although he’s likely to be knocked out in Q1 anyway.
“When the overtake happened after the red flag signal was given for the session, the marshall’s post to the right of Car 43 was still showing a blue flag and the light panel had displayed a blue signal and only subsequently switched to red.”
“At the time that the light panel went red, the distance between the two cars was only 30 metres and there was a considerable speed delta between the two cars.
“While it is correct that Car 43 overtook Car 18 after the red flag signal was shown, it is clear that this was due to the momentum of the car and the relative distance.
“Car 43 took all reasonable steps to slow down immediately and appropriately when the red flag was in fact displayed.”